
Are you ready to learn how to design a website for your personal or business brand using WordPress? This post will help you create your own website from the very beginning with quick and painless guidance.
If you want to learn how to design a website for your company or personal use, you can’t go wrong with WordPress. It’s really the only platform you need to make a professional website with a blog. It’s powerful yet easy to use, though there can seem to be a bit of a learning curve if you are a beginner.
Let’s look at a step-by-step process to get you up and running with a WordPress website.
Decide Which WordPress Version is Best for You
First, an important clarification: There are two versions of WordPress, the web-based wordpress.com and the self-hosted www.wordpress.org options. This post will focus on the web-based wordpress.com version. If you are interested in the self-hosted wordpress.org version, I have written a post on that one as well.
The primary difference is that, with the web-based version, you simply go to the WordPress website and create an account. Your website will reside on the WordPress server. You just get a specific amount of shared space on their server. A server is computer with giant hard drives that store all of your websites files. These include text, photos, videos, and audio files.
The company that provides you with space om their server’s hard drive is called your “host.”
With the self-hosted version, you subscribe to a hosting service and download the wordpress.org version to your server, 100% free of charge.
Let’s get started looking at the web-based WordPress setup.
Web-Based WordPress
The following steps will guide you through the process of setting up your web-based WordPress account.
Sign Up For Your Account
You begin the process by going to the WordPress.com website. Once there, follow these steps to get set up:
1. Click on the “Get Started” link at the top-right part of the page.

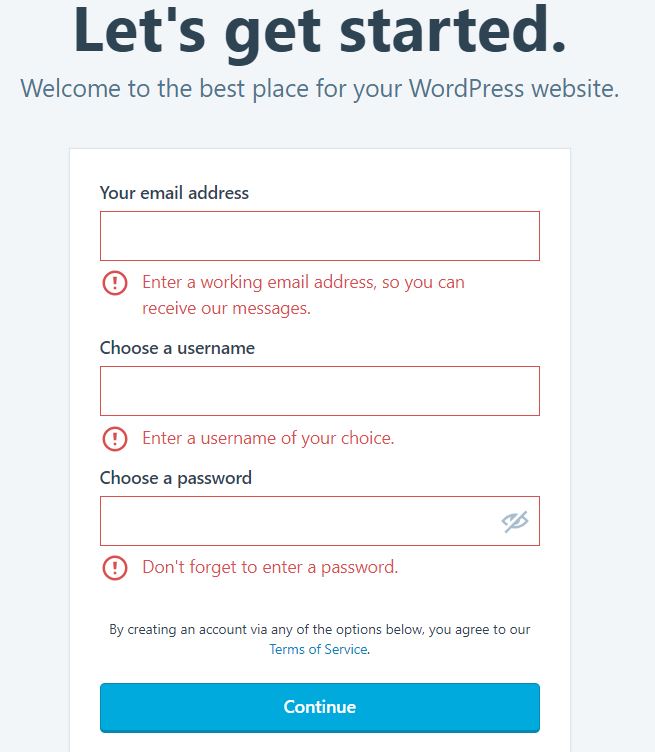
2. On the form that opens, enter your email address and choose a user name and password. Then click continue.
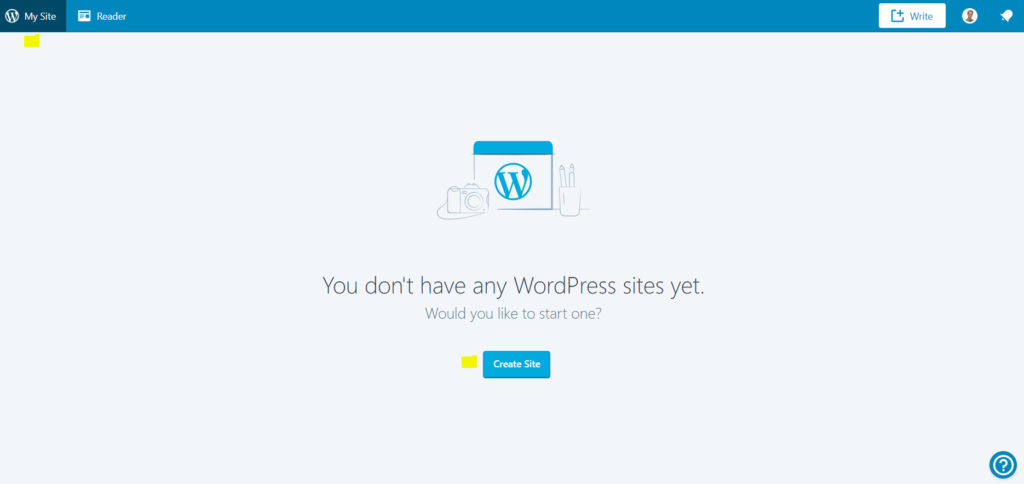
3. After you click “Continue,” on the screen that appears, make sure that you click the “My Site” tab. Ignore the “Reader” and “Write” tabs for now. You don’t need to do anything with these tabs to set up your website. Click the “Create Site” button.
4. On the next screen, enter the name of your site. This is not the URL (www.example.com), but rather the human-readable name, such as Green Sage Media. You will choose your URL in the following step. In this current step, the next box asks what your site is about. Think of the main thing that your business does and enter it in this field. Finally, check the boxes to indicate what your goals are.

5. The next screen asks for you to choose your website’s address, or URL. With the free plan of this WordPress version, your domain name will be, for example, greensagemedia.wordpress.com.
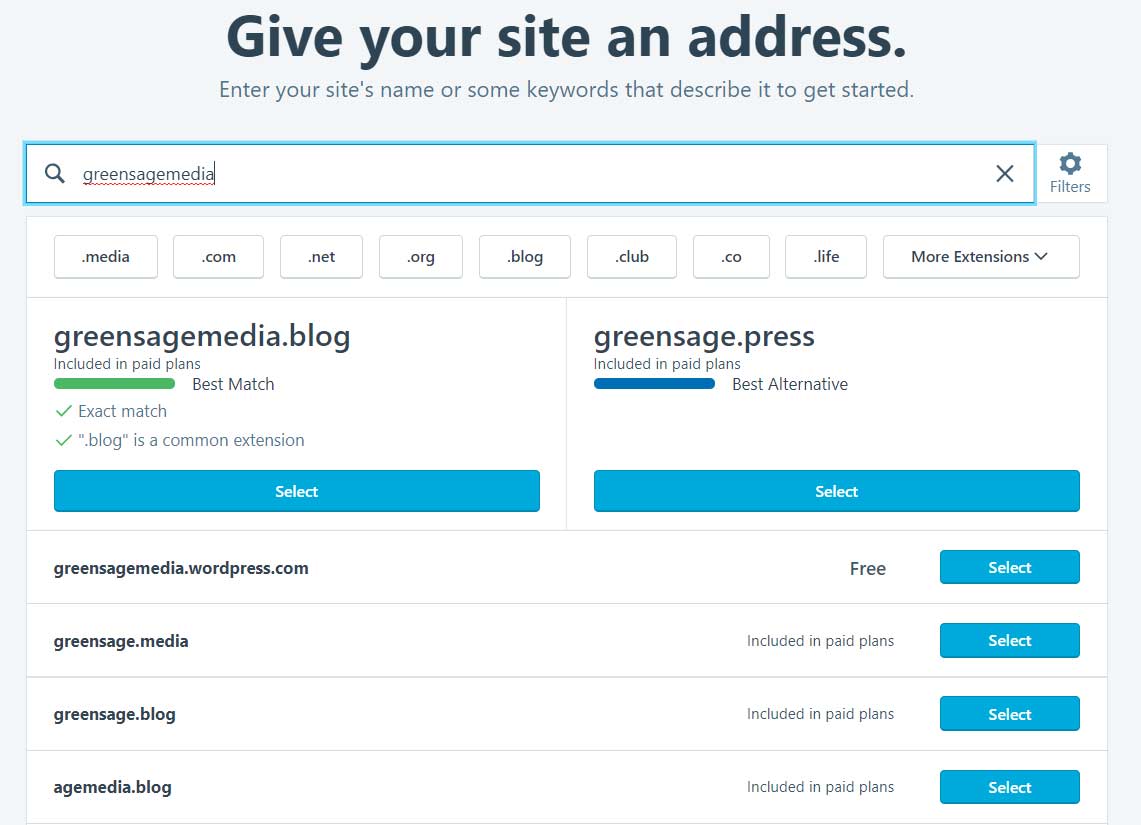
This free plan is fine if you just need to create a quick and temporary website to promote a single event, or if you want to evaluate WordPress by using it’s basic website creation and blogging functions before advancing to a paid plan.
But if you are creating a website for your business, you most certainly want to invest in a paid plan. This will enable you to, among other advantages, have a custom domain, such as www.greensagemedia.com.
No one is going to take your business very seriously if they see that you are using the free version of WordPress to create your website.
It will look to your customers like you’re trying to take the cheap way in presenting your company (or self) on the web.
Also, you should go for a “.com” option for a business website. It’s just the traditional address ending (It’s called a top-level domain, or TLD). It’s the TLD that your customers are going to expect to see as part of your website address. If your name is unique, a “.com” address should be available. My choice in the example — greensagemedia.com — isn’t because I have already registered greensagemedia.com, which is the address of the website you are on right now. (Smile)
If you don’t see the “.com” option, it means someone else already claimed that one. At this point, you will need to choose another name or add a character or two the make it unique. For example, if you cannot get furnitureshop.com, try afurnitureshop.com. Keep in mind that the simple common names will almost certainly have already been registered, so you will need to be creative here.
Whatever you do, don’t go with the suggested options you see in the image above, such as “greensagemedia.blog” or “greensagemedia.press.” Ugh!
6. After you have chosen your web address, the next task will be to choose a plan.
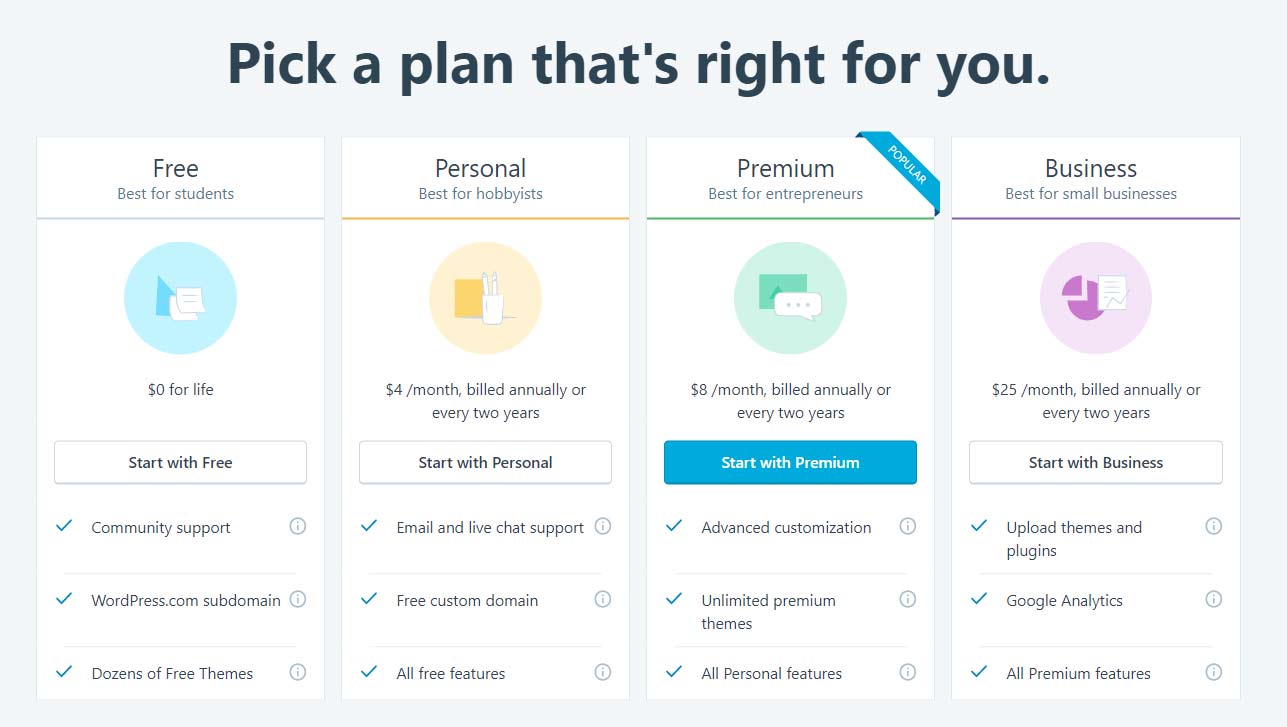
If you plan to use the web-based version of WordPress for your business website, you should consider either the premium or business plans. The options they offer are beneficial to your business and are worth the extra price. Some key benefits of the Premium and Business plans are increased server space, unlimited use of premium themes, and, with the business plan, the ability to install additional and unlimited plug-ins.
Plug-ins are small apps that increase your site’s functionality and improve its appearance in so many ways! The ability to install plus-ins is essential to being able to design a website truly representative of the quality that you should expect for your professional image.
7. Yaaay, you did it! Congrats. That’s all there is to the basics of setting up your site.
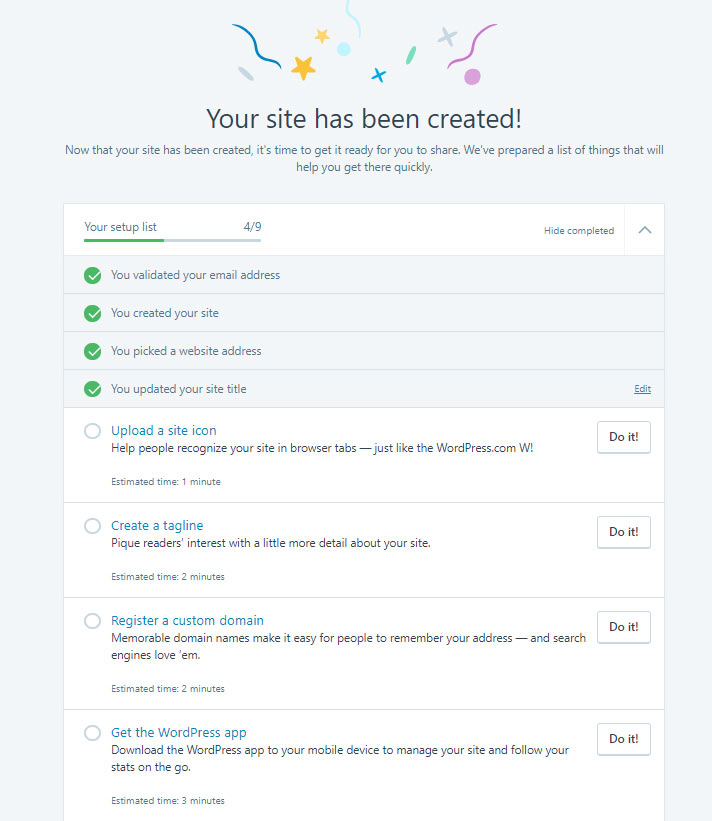
Ah, but in web design, the work is never done. I recommend that you go through the checklist and click “Do it!” to complete the tasks. You should definitely upload a site icon and create a tagline.
Here is where you can also choose your unique domain name if you did not already do it in step 4 above. If you decide not to register a custom domain name or to get the WordPress app, you can just click in the circle to insert a green check mark and it will check the task off the list.
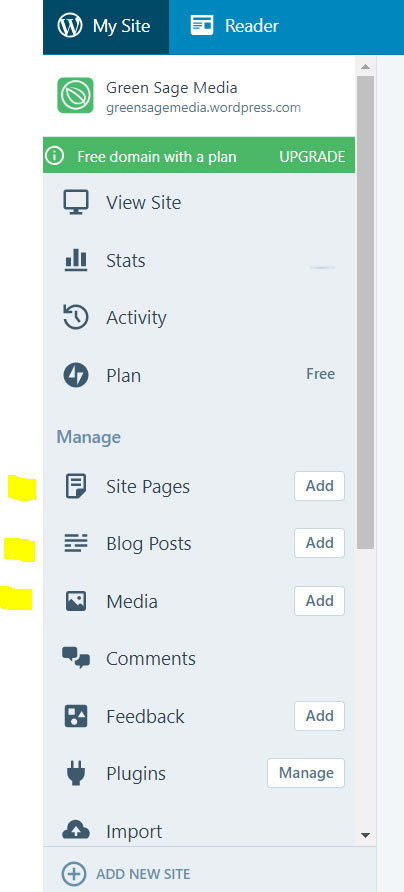
8. After you have gone through the checklist and either completed each task or checked them off manually, you will be taken to a page with a menu that enables you to add pages, blog posts, and media (such as photos or videos) to your site. Start with clicking the “Add” button next to Site Pages.
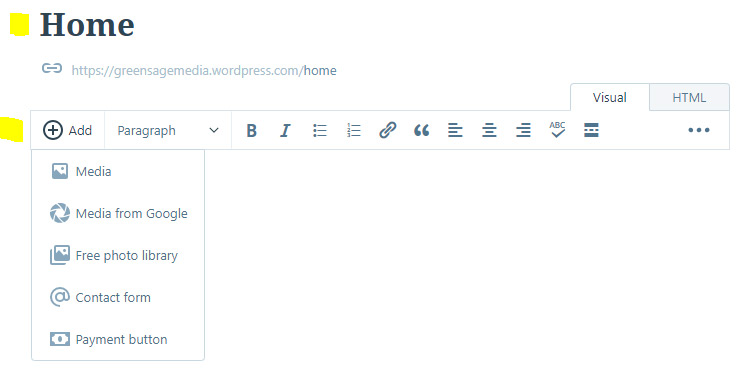
9. The page editor is where you will actually create your web pages. It’s a good idea to start with your home page. You can just type “Home” in the upper-left part of the page. Then click the “Add” tab just below where you entered “Home.” From here, you can add photos or videos and also the text of the page.
At the least, for a business website, you should have a Home, About, Product, Contact, and Legal page. The legal page is important, as that is where you will explain your terms of service, privacy policy, refund policy, etc.
Notice the “Visual” and “HTML” tabs at the top-right. You can either use the editor’s visual tab, like you would use Microsoft Word, or, if you know HTML, you and fine-tune your page using the HTML tab.
10. Notice that changes to the page are automatically saved, as indicated in the upper-left corner. It’s hard to read, but that says, “Saved,” indicating that your changes are safely changed. Also, on the upper-right corner, you can use the “Preview” button to check out the look of your site before publishing it.
Finalllllly, when you are satisfied with the look and feel of your pages, you may click “Publish” to go live on your site!
However, I must say, despite the advantages of investing in a paid WordPress plan over the free one, I still recommend that you use the self-hosted version. This means that you download the actual WordPress application and install it to your own hosting account.