
This is the third post in a series on how to use WordPress to design your own website. The series will focus on business websites, but the principles are the same for personal ones as well. Now, we’ll look at how to install and activate a WordPress theme.
Install a WordPress Theme for Your Website
Now that you have completed your basic WordPress setup, the next step is to install a WordPress theme for your website. Sure, you can use one of the free ones that come as part of the WordPress platform. They are fine for learning the basics of working with a theme and we will begin this tutorial looking at how to install and activate a free theme.
However, if you are designing a business website, you should consider using a premium theme. One that I use and highly recommend is the Divi theme. In fact, it’s the one I used to create this very website.
But, let’s start by looking at WordPress’ free themes.
Get Started with WordPress Themes
If you are brand new to WordPress and would like to try a free theme to get started, you can install and activate a theme to learn how they work.
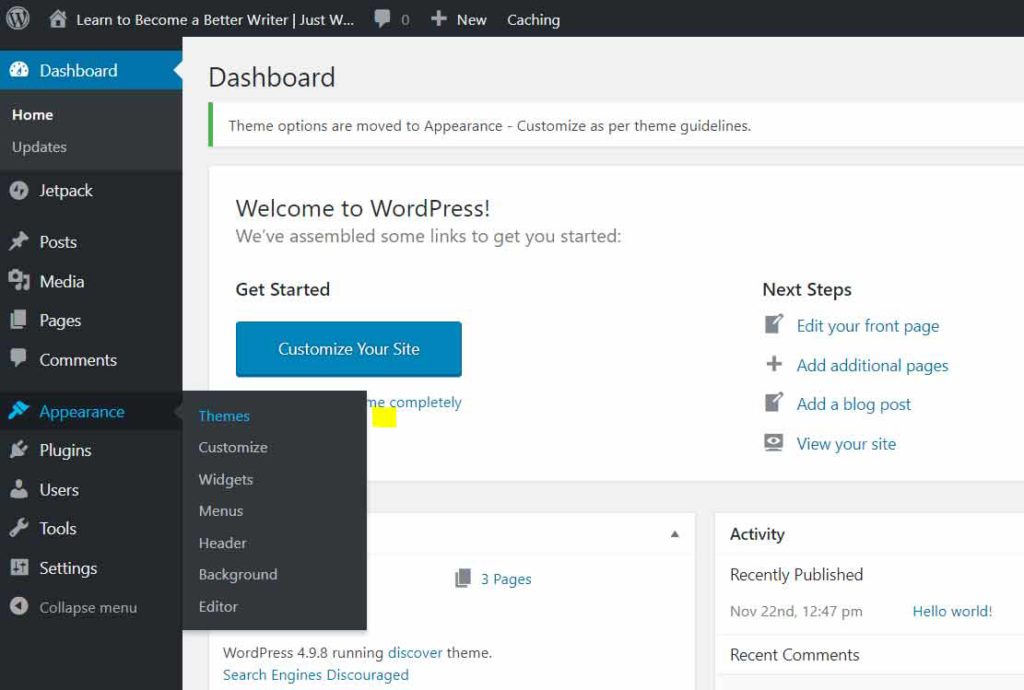
1. From your dashboard (or any other page in WordPress) click on “Appearance” on the left-hand menu and then on “Themes” in the sub-menu. This will take you to the theme’s page and show you the ones that are currently installed and available for use with your website.

More than likely, the ones that you will see are WordPress’ classic themes, named after the year they were introduced. You may see “Twenty Fifteen,” introduced in 2015, and Twenty Seventeen introduced in, you guessed it, 2017. Your active theme’s tab will always appear in the upper-left corner. It will say “Active” at the bottom-left part of the tag.
These stock themes are very basic and offer little in the way of customization, unless you are really good with PHP and CSS. These are the two most basic coding languages used in building WordPress. At the very least, you should search for a better looking free theme that has a little more flexibility.
2. At the top of your screen, click the “Add New” button next to the word “Themes.”
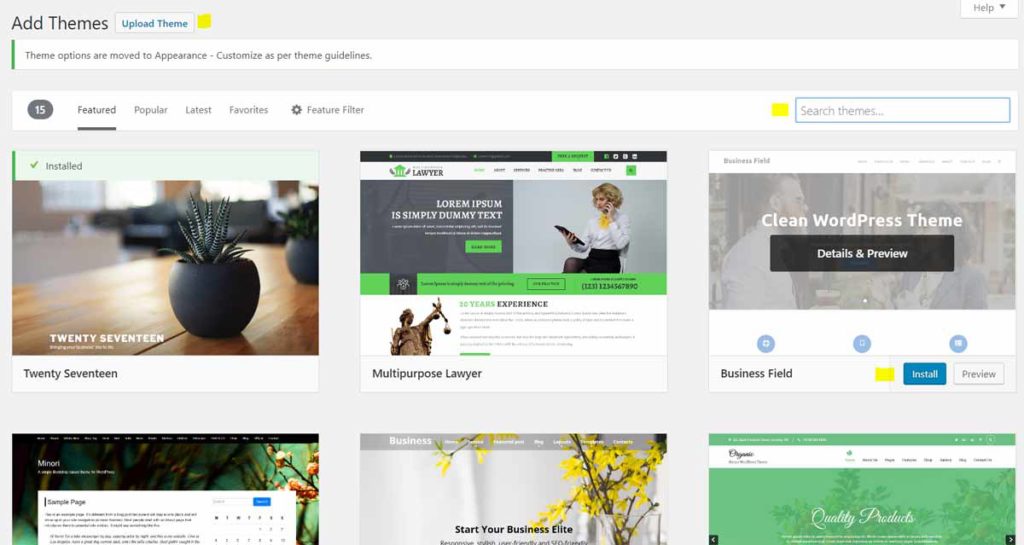
Notice from this screen that you can see available themes by the tags “Featured,” “Popular,” “Latest,” and “Favorites.” These are chosen by WordPress and presented to you as a way to be helpful in getting started with common themes. If you have a particular theme name in mind, you can search for it in the “Search themes…” box toward the top-right of your screen. You can also search by keyword phrase, such as “business,” “light,” or “minimalist.”
3. When you see a theme you like, you can hover over it and the options to install and preview it become available. If you would like to see what your website would look like with that theme, you can hit the “Preview” button. If you like it, just click “Install.” It may take a minute to install.
Also, notice that you can upload themes that you download directly from the vendor’s website. In the upper-left, the “Upload Theme” button will allow you to do just that (See image above.). Some themes are very specialized and may also be offered for free. But often, these are premium themes and must be paid for.
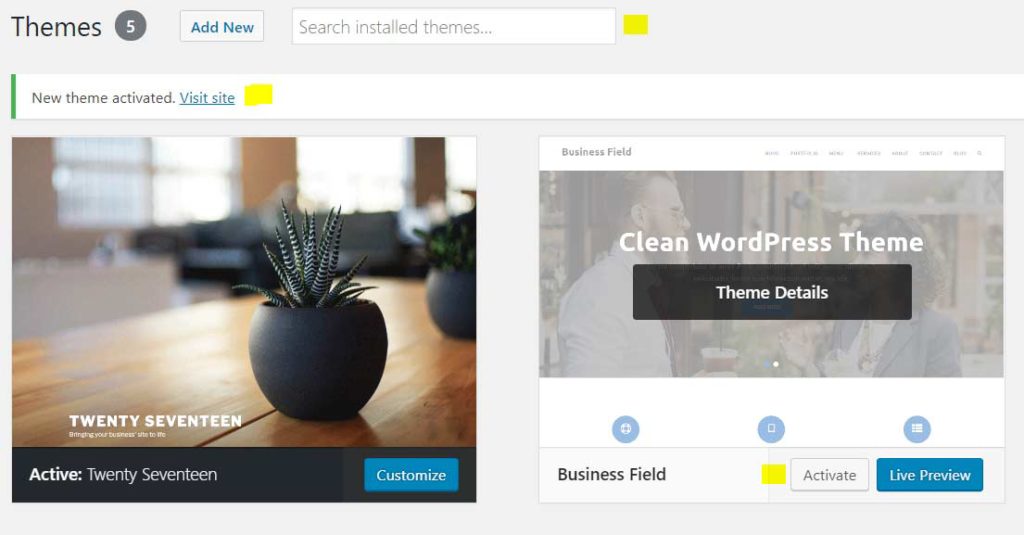
4. After your theme installs, you will see the “Activate” button on its tab. You must activate a theme to use it on your website. When you do activate it, that will become your site’s new appearance.
5. Now for the fun part! After you activate your theme, go to your browser and check it out! If you like it, you’re done with installation and activation for your new theme. If you don’t like it, repeat steps 1 – 4 with a different theme.
Customize Your Theme
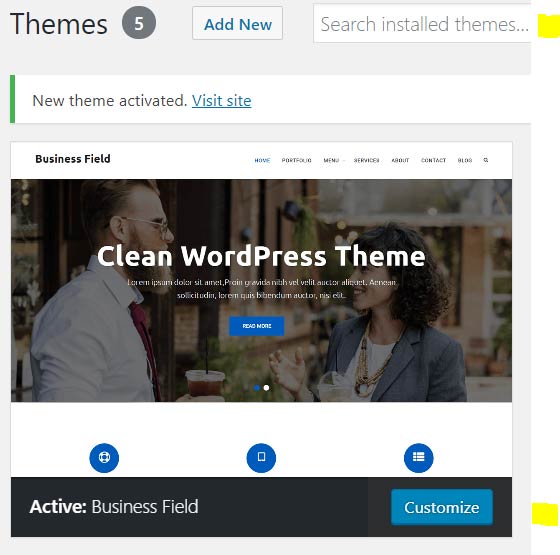
Your active theme’s tab will appear in the upper-left corner of the themes page. Click the “Customize” button and you’ll be be able to customize your theme by selecting the options available in the menu.
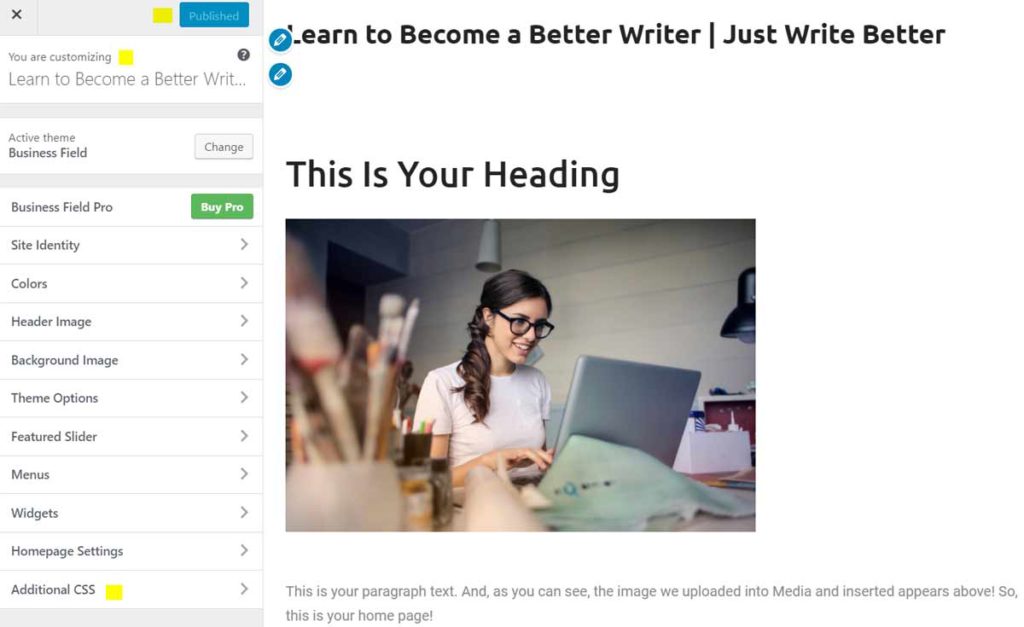
Notice that you can also include additional CSS to style your theme as you like. Click the bottom option, “Additional CSS,” and a text box will open. Just directly enter your custom CSS into the text box.
When you have completed your customization, be sure to click the “Publish” button on the very top of the menu. If you don’t click on this, your changes will not be saved. To exit without saving your changes, click the “X” at the top.
Use a Premium Theme for Business Websites
Not all options are available for every theme. In fact, many of the free themes only allow for a few modifications. For a truly professional business website, you should strongly consider using a premium theme. You just can’t get the same look, feel, and functionality with a free theme that you can get with a premium one.
If your website will be for personal use, a free theme is fine, but for a business, your website is THE face of your company, more than Facebook or Instagram could ever be. Your potential customers will frown on a website that obviously uses a free theme.
As I mentioned above, the premium theme that I highly recommend is Divi, by elegant themes. I use it on most of my websites and it is by far my theme of choice. It makes for a very nice, professional design and is easy to use. They offer a yearly subscription for US$89 or lifetime access for US$250. If you plan to use your website for 2.8 years or more, it’s worth it to just go for the lifetime access.
At no additional charge, you can download their Bloom email opt-in plugin, which I recommend. You won’t need to download the Divi builder if you are using Divi already, because the builder is included in the theme.
You can also download for free a social media sharing plugin, Monarch, but I don’t use it. I don’t like the social sharing icons stuck on the side of the screen on every blog post. I think this is distracting for my readers.
A future post will discuss the benefits of using the Divi theme in more detail.
Update Your Theme
It’s important to keep your themes updated. Not doing so may lead to serious performance issues and older versions of themes can even break your website. This happens when your version of WordPress updates but your theme remains in the old version and the two become incompatible.
This is almost always fixable by simply updating the theme, but it’s often a scare for you and an inconvenience for your customers. Customers can be forgiving, but they don’t want to lose access to functions on your website on a regular basis.
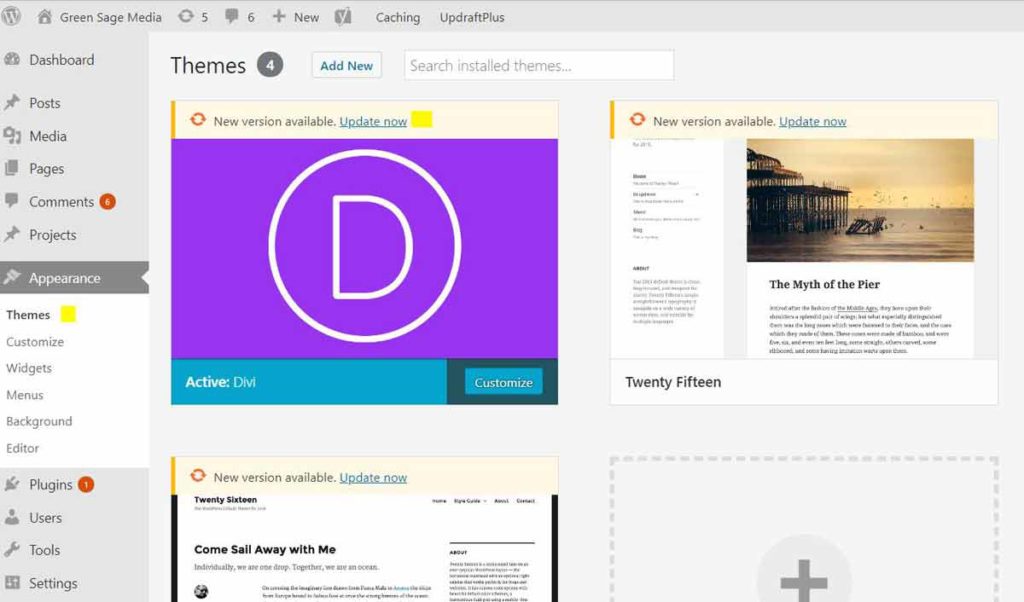
Visit the “Appearance” –> “Themes” page on a regular basis to check whether your theme needs updating. When you see the notice “New version available,” you can click “Update now” to update your theme.
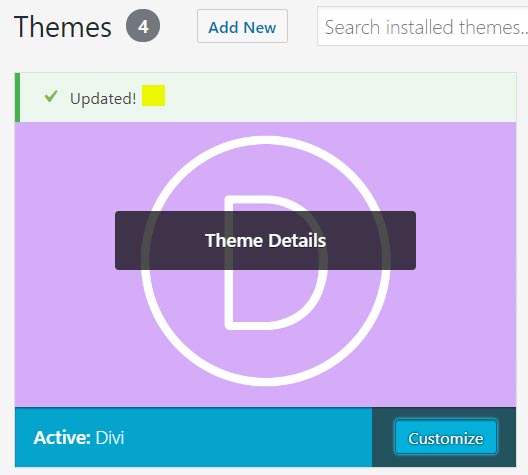
When the theme is successfully updated, you will see the “Updated” message at the top of the theme’s tab.
OK, that’s it for installing, activating, customizing, and updating your WordPress themes. Up next is the final post in the beginner series on how to use WordPress to design your own website, the best WordPress plugins to get started and and how to install them.