
This is the second post in a series on how to use WordPress to design your own website. The series will focus on business websites, but the principles are the same for personal ones as well. Let’s learn how to go through a WordPress setup after you complete downloading and installing WordPress onto your server.
How to Complete Your WordPress Setup
So you have accomplished the previous tasks in your WordPress installation and have a placeholder website in place. This is a good feeling I know from experience. But, there is much to be done to complete your basic WordPress setup.
Open a new tab in your browser and navigate to your WordPress administration page. The URL for this page will always simply be your website’s URL to the WordPress login extension, in this form:
https://websiteurl.com/wp-login.php
For example, in our example website “Just Write Better,” a site I created to serve as examples for these posts, the WordPress admin log in is
https://justwritebetter.com/wp-login.php
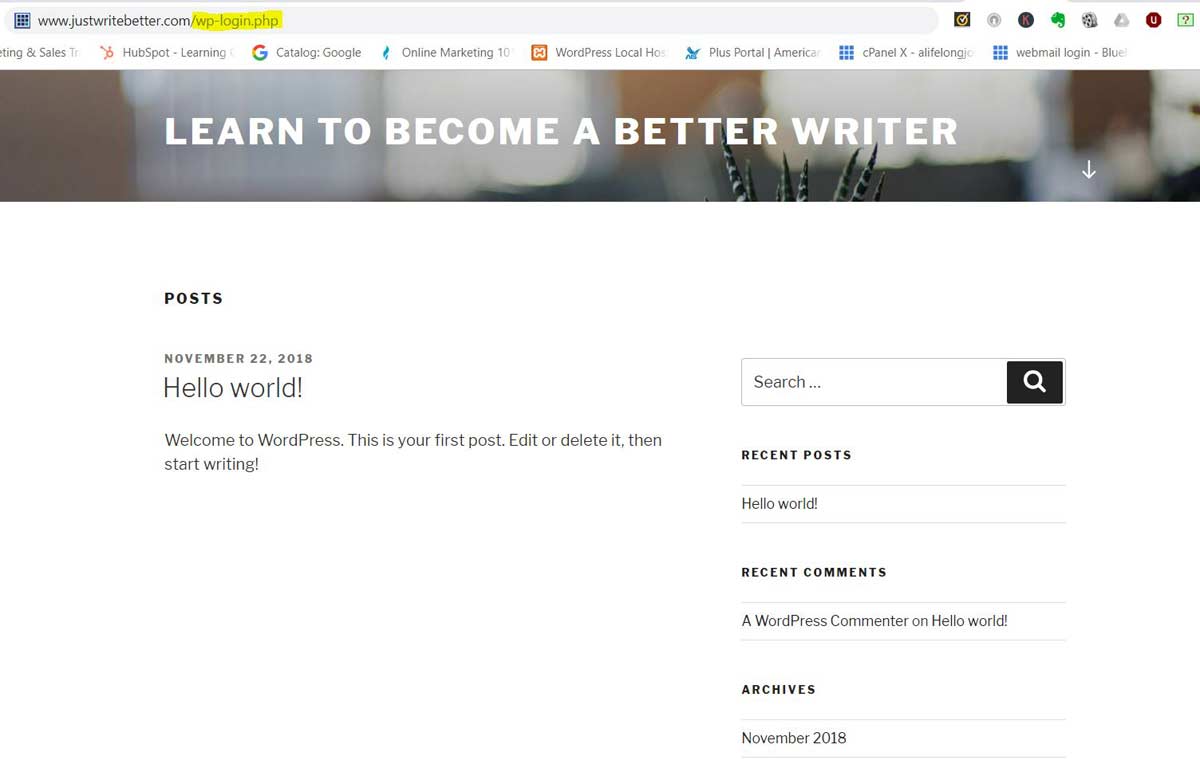
Just enter the URL into your browser and you will arrive on the log in page.
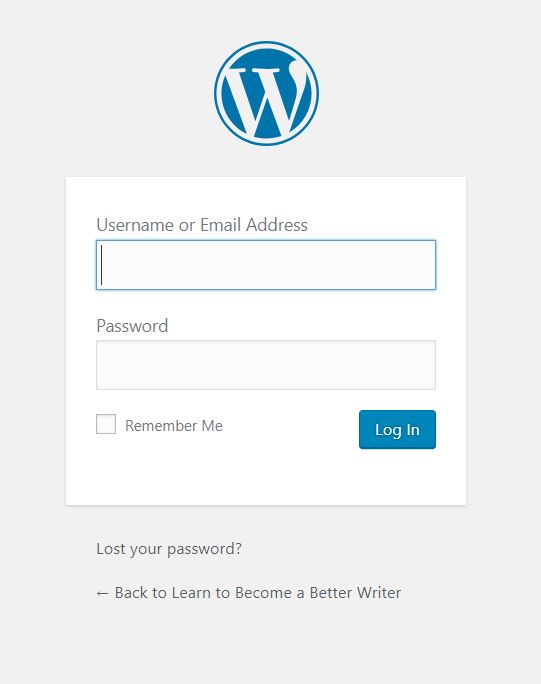
After you arrive on your admin page, you will see a login box with fields to enter your user name (or email address) and your password. Enter them here and then click “Log In.” You will then arrive on your WordPress dashboard.
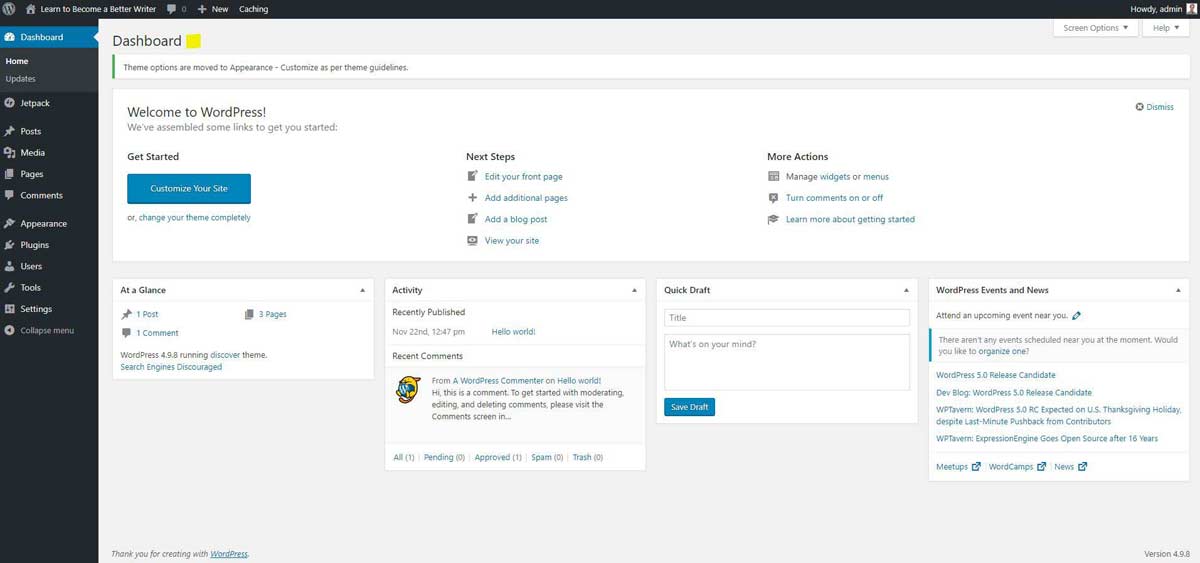
It is from this dashboard that you will launch all of your tasks, such as adding pages to your website, posting to your blog, changing your theme settings, installing plugins, uploading your media (such as photos and videos), and managing your users.
Let’s look at some of the most important settings that you should set right off the bat after installing WordPress.
In the left-hand menu, click on “Settings” and then on Permalinks.
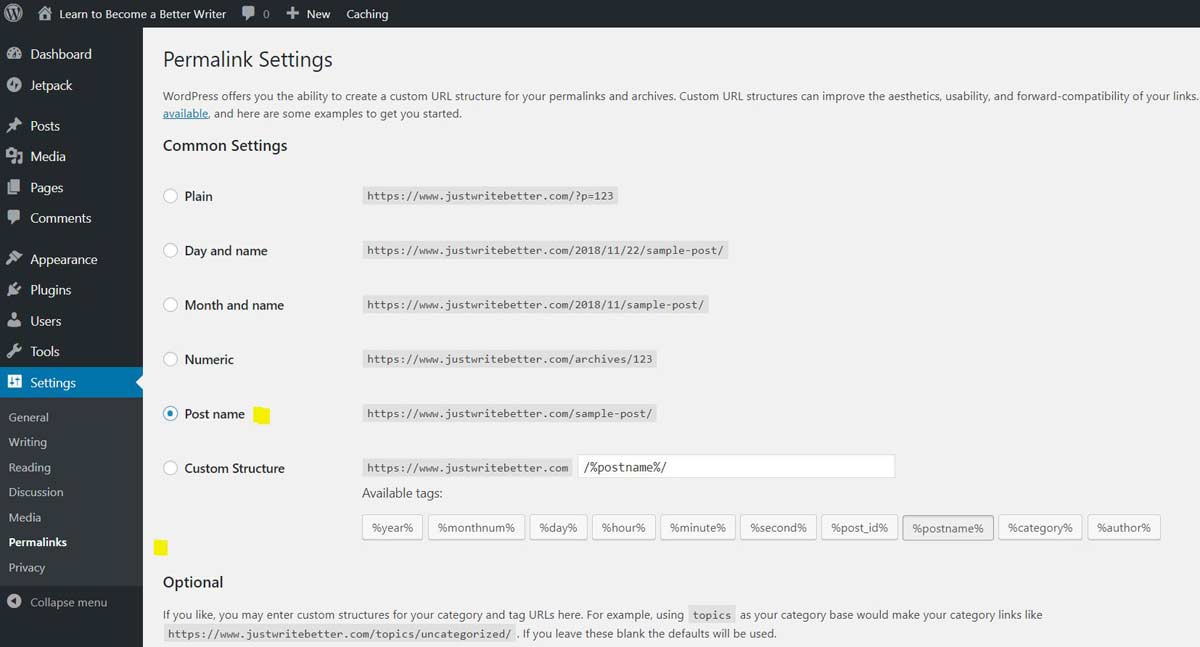
This setting controls the way that your website’s pages’ URLs are accessed and displayed in your users’ browser. This is an important setting because you want your users to always have to go through the least amount of effort to arrive on your site’s pages.
The setting that will make the most sense to your users — and to you as the site’s creator — is “Post name.” With this setting, each page in your site will simply have a URL that includes your main URL plus the name of the specific page. I know this is a mouthful. Let’s look at an example.
Website Page Names
The main URL of our sample website is justwritebetter.com. Easy, right? This is the URL of the home page. Let’s say you want to create a blog page as a separate page from the home page. Using “Post name” as the permalink setting will give your blog page’s URL the simple name of “blog.” So, to arrive on Just Write Better’s blog, the URL would become justwritebetter.com/blog. Still simple?
As one more example, if you sell products and have a separate page that served as a catalog, you could create a page simply called “products” and its URL would be justwritebetter.com/products. The contact page could be justwritebetter.com/contact.
Blog Post Names
Your blog posts, not to be confused with your pages, will follow the same structure with this setting. The title of the blog post just appears after a “/” after your main URL. An example would be justwritebetter.com/how-to-write-better-blog-posts.
This is sooooo much easier for both you and your site’s visitors than other permalink settings. “Plain” is the worst! Avoid that one at all costs. This would give your pages meaningless numbers, which would appear as the URL. Your products page might be, for example, justwritebetter.com/p=478.
Huh???
As you can see, this would mean nothing to your users, not to mention that it wouldn’t do much for search engines indexing your site. One of the main things search engines look at are your URLs. So, you want to make sure you have page URLs that make sense to both your readers and to search engines.
“Day and name” and “Month and name” aren’t too bad, as it just adds either the day the page / post was created, which might help you or your staff organize posts by day or date, but really, this is not necessary and only adds complexity to your site’s URLs. Best to stick with the nice, simple “Post name” option.
Add Pages to Your Website
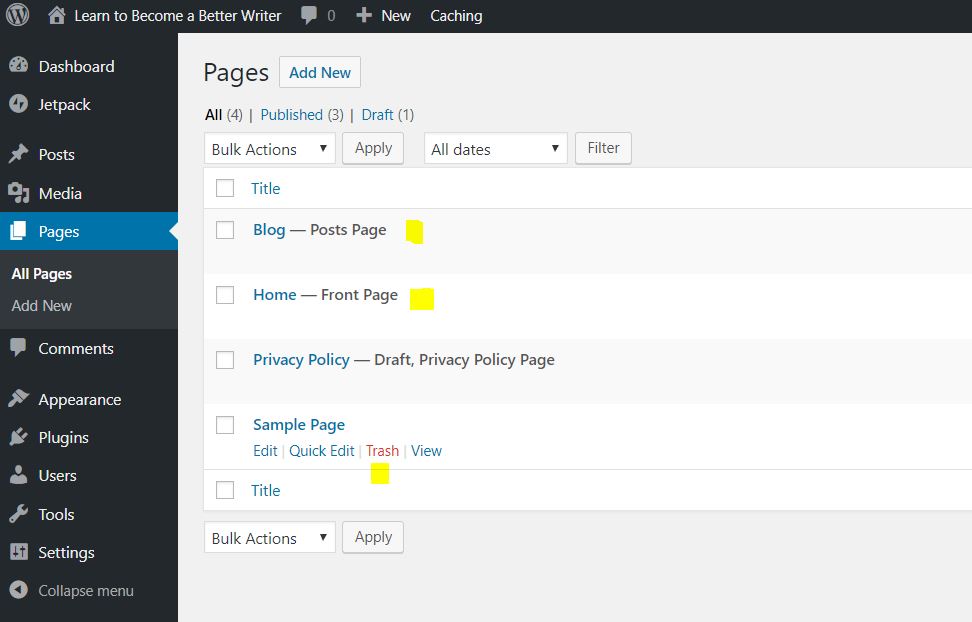
This is the cool part of your WordPress setup! You will add your very first page to your website. A good first page to start with is, well, your home page. First, let’s look at your Pages tab on your dashboard.
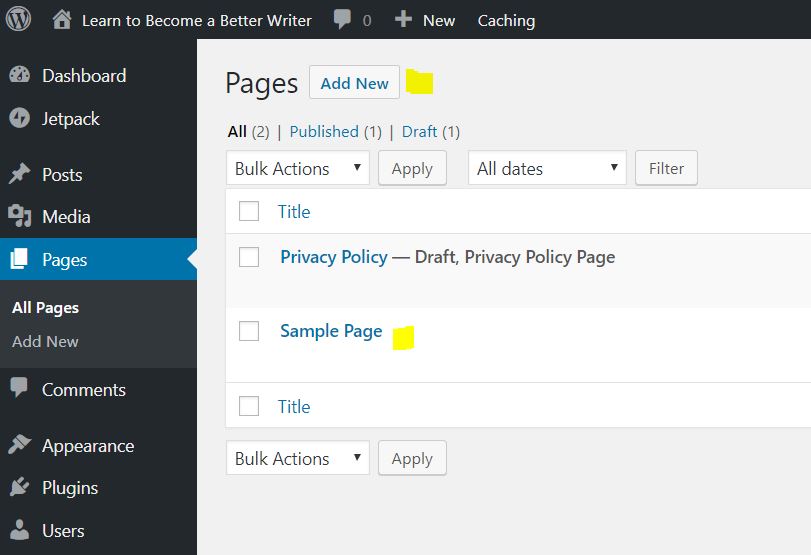
To see your existing pages, click on the “All Pages” sub-menu. The pages you see there — Sample Page and Privacy Policy — were created by WordPress as samples. You can delete the sample page but perhaps keep the privacy policy page and refine it to suit your needs. If you are a business, you will need to have a privacy policy anyway, so you use this one as a guide.
To create a new page, click the “Add New” sub-menu under “Pages.” The screen that opens — Add New Page — will contain an editor and all the controls to set your page up. The editor is the title bar, the “Add Media” button and the large, white text box where you will add all the elements to your page, such as photos, videos, headings, and body text.
By the way, as of this writing, WordPress is in the process of updating it’s editor to one called “Gutenberg,” so what you see may look a little different than what’s in these images. However, Gutenberg looks and functions much like the current one. All the steps in this tutorial will still word as explained here.
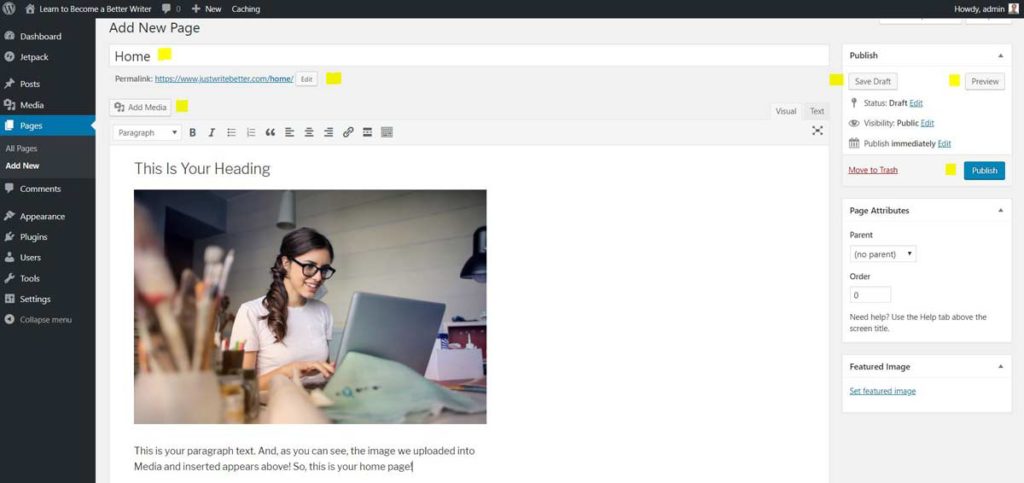
In the field at the top of the editor, type the name of the page: “home,” for example. Hit your “Tab” key to move your cursor to the content box. You will notice the Permalink will appear. As explained above, the Permalink will be your site’s URL plus the name of the page, “home,” in this case.
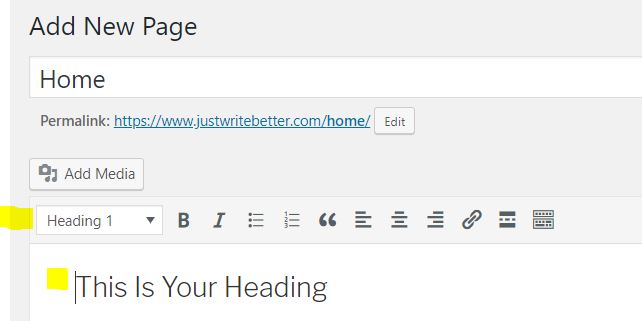
Now you can begin to add content to your home page. Begin with a heading that serves as the main point of your page. To make text become a heading, just highlight it and change the selector just above the very top of the editor to “Heading 1” for your main headlines and “Heading 2” and “Heading 3,” etc. for your subheads.
You can also add media, such as photos, and body text.
Add Media to Your Page
Now, let’s spruce up our page a bit so that it doesn’t end up being just text. To add media, place your cursor where you want the image or video to appear and click the “Add Media” button just under the Permalink. This will open a screen for you to upload media.
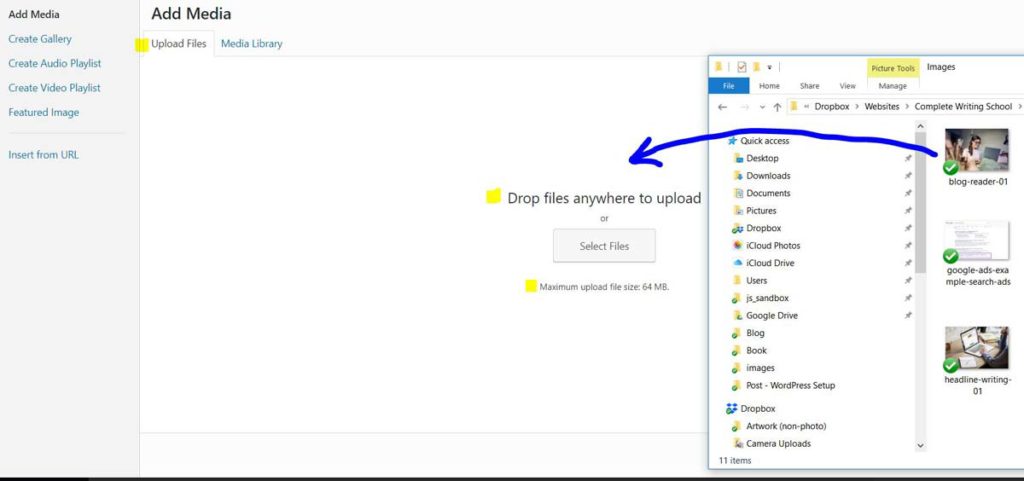
The easiest way to upload media to your page from the “Add Media” screen is to open up your file explorer and navigate to the folder where the image or video is stored. Now, click and drag the thumbnail of the item into the “Drop files anywhere to upload” window. After a few seconds, you will see it appear in your “Media Library.”
You can also see a gallery of all media files that you have uploaded by clicking the “Media Library” tab at the top of the gallery just under the “Add Media” label.
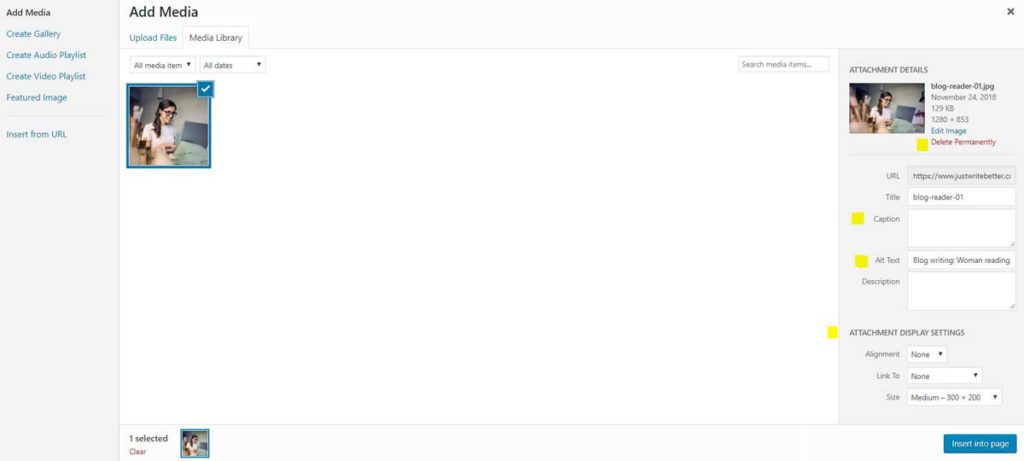
At the very least, always add the “Alt Text” to your media. This is important not only for accessibility for the visually disabled, but it also helps with SEO. Try to include a keyword phrase as alt text.
If you would like to have a caption under an image, you can enter that here too. You can likewise set the display settings, such as the image size, alignment, and “Link To” address.
Other Tasks Needed to Add Page
In addition to the text and media editor, the “Add Page” screen has other buttons needed to setup and control your site’s pages.
Save Draft
Be sure to do this on occasion. There is nothing more irritating that to spend 30 minutes working diligently to create your perfect page only to lose it due to a server error, loss of power or other computery screw up! Click “Save Draft” generously.
Preview
If you would like to see what your page will actually look like in a browser, just click the “Preview” button. A new tab will open in your browser, showing you an exact preview of the page.
Publish
Finally, when you are ready to show your page to the world-wide web, just click the “Publish” button. Your page will now be live on the web and accessible to your readers.
Create a Blog Page
You would create pages the same way for “about,” “products,” “our-location, “blog,” and any others you would like to have. In fact, it’s a good idea to go ahead and create a blog page now in order to complete the next step below.
Don’t worry about adding posts to your blog just yet. For now, just add a new page and call it “Blog,” “My Blog,” “Latest News,” or something similar. It doesn’t have to be called “Blog,” though that’s perfectly fine too. Just remember which page you want to be your blog page.
To delete a page that you are sure you will no longer need, click “Trash” under the page’s title and it will be gone.
Set Your Home and Blog Pages
After you have created a Home page and a Blog page, you will need to set these as your home and blog page in WordPress. Click on “Settings” in the left-hand menu and then on “Reading” in the sub-menu. Where it says “Your homepage displays…,” if you want to simply display your blog posts page as your home page, you can select “Your latest posts.”
That’s fine and it works, but I would recommend having a more versatile home page by actually creating a home page as described above.
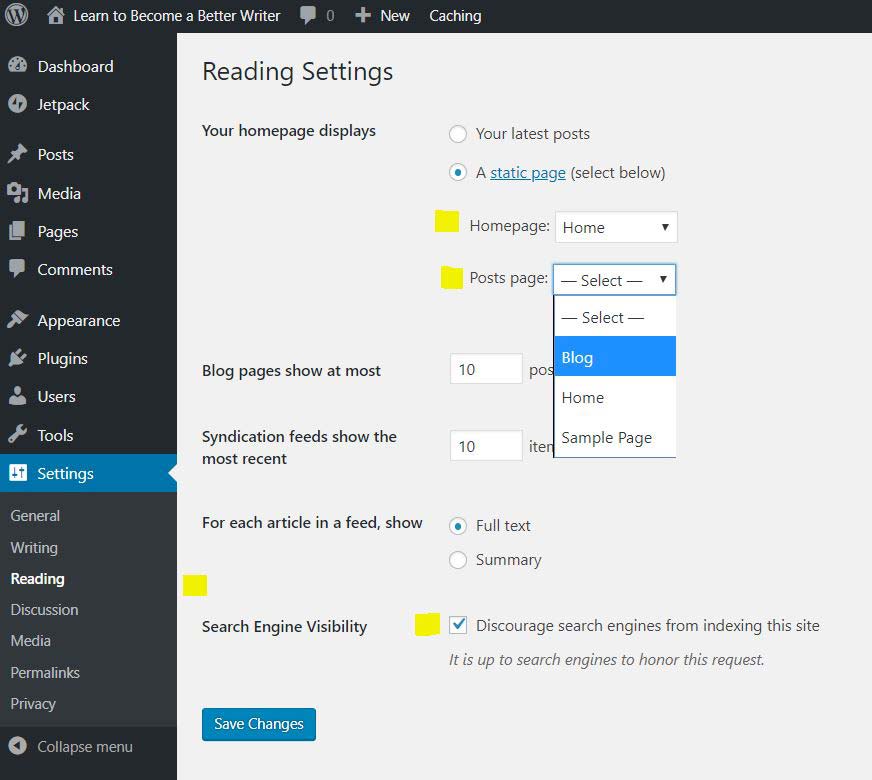
You set your home page and blog page by selecting the “A static page (select below)” option. Use the drop-down menu next to “Homepage” and select the page called “Home,” or whatever you called your homepage. Complete the same process for “Posts page.”
While you are on this page, while you are designing your website and adding content, it’s a really good idea to look further down on the same page and click the box next to “Discourage search engines from indexing this site.” You don’t want Google and other search engines to start crawling your site and indexing your content while you are making daily changes. It’s better to wait until you’re ready to launch to start having search engines index your website.
That’s it for the basic setup. In our next post, we’ll look at downloading and installing themes for your website.